Welcome to Seoul! As a local expert, I know that for first-time visitors, the sheer size and complexity of the Seoul Metropolitan Subway can seem daunting. Yet, it is arguably the most efficient, clean, and safest way to explore this dynamic city. This guide is your ultimate Seoul Subway playbook, offering a step-by-step walkthrough—from entering the station to exiting at your destination. Forget the confusion; we’ll break down the signage, ticket systems, and routes so you can travel like a true local, confidently navigating from a major hub like Seoul Station to Anguk Station.
For general information on Korea’s transportation system, please refer to ‘How to Use Public Transport in Korea.‘ For detailed instructions on using Buses and Kakao T, see ‘Ultimate Guide to Buses, Kakao T‘.
- Finding the Subway Entrance and Signage
- T-Money vs. Single Journey Tickets: Your Fare Options
- Entering the Station: The Tap-In Process
- Reading the Signs and Maps Inside the Station
- Case Study: Seoul Station to Anguk Station
- Exiting and Transferring: The Tap-Out Rule
Finding the Subway Entrance and Signage
Finding a subway station is the first step, and thankfully, Seoul makes it easy. Look for the distinct, universally recognizable logo and color-coded numbering system.

Recognizing the Subway Logo and Station Numbering
Every subway entrance is marked with a circular logo containing the letter ‘K’ or the word ‘Subway’ / ‘Metro.’ Crucially, each line has a distinct color, and every station has a unique three-digit number. This number is your best friend when translating between Korean, English, and map apps.
- Line Colors: For example, Line 1 is Dark Blue, Line 3 (which goes to Anguk) is Orange, and Line 5 is Purple.
- Sign Shape: Look for the stairwell entrances labeled with the line color and number (e.g., Brown sign for Line 6).
[Image: A typical Seoul subway entrance sign showing the line color, line number (e.g., 5호선), and the station name in Korean and English.]
💡 Pro Tip: When you see a sign that shows multiple line colors, it indicates a transfer station (환승역, Hwanseung–yeok), meaning you can switch lines there. Seoul Station (Line 1, 4, Airport Railroad) is a great example.
T-Money vs. Single Journey Tickets: Your Fare Options
You have two main ways to pay your fare. As a local expert, I strongly recommend using a T-Money card for convenience and cost savings, especially for the crucial free transfer benefit (which applies between subway lines and to buses).
*Lately, there are options available beyond just the T-money card. Please check out ‘WOWPASS vs NAMANE & Climate Card vs T-money, 2025 Guide‘ for more information
Using the T-Money Card
The T-Money card is a reusable, rechargeable smart card. You buy the card at a convenience store or machine (approx. ₩2,500-₩5,000) and load cash onto it. This card gives you a slightly discounted base fare (currently ₩1,400 for adults). It is the quickest way to get through the turnstiles.
Single Journey Tickets for Non-Locals
If you only plan to ride the subway once or twice, you can buy a Single Journey Ticket from a machine inside the station. These require a refundable deposit of ₩500 on top of the fare. You must return the card to a deposit refund machine at your destination to get the ₩500 back. Honestly, dealing with the deposit is why most people prefer the T-Money card.
Entering the Station: The Tap-In Process
Once you have your card loaded, it’s time to enter. The turnstile gates are your entry point to the system.
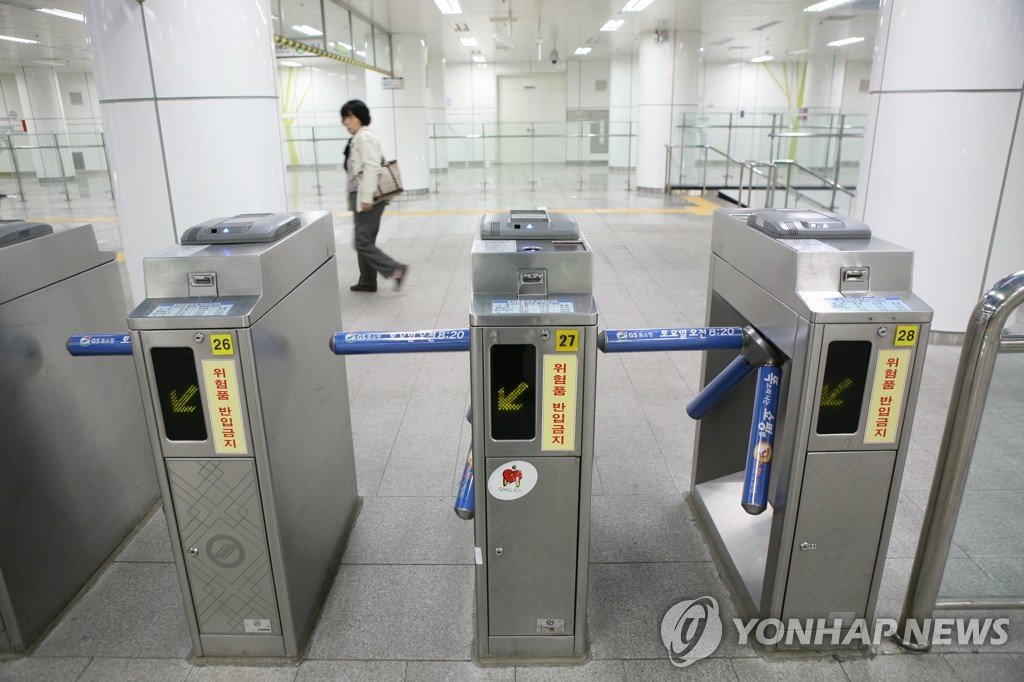
- Locate the Gate: Walk towards the row of turnstiles. Look for the green arrow lights. Red X signs mean the gate is for exiting only.
- Tap Your Card: Hold your T-Money card flat against the sensor pad (usually marked “카드/Card”).
- Confirmation: The gate will beep, flash green, and the screen will display your deducted base fare and the remaining card balance.
- Walk Through: The gate doors will quickly open. Walk through promptly before they close.
⚠️ Warning: Children and teenagers use special T-Money cards with discounted rates. Do NOT use these cards if you are an adult. Misuse can result in fines. The standard adult card is what you need.
Reading the Signs and Maps Inside the Station
Inside the station, you will encounter signs directing you to the various platforms. These signs are often the most complex part of navigating, but they follow a clear pattern. Use Naver Maps. You can view the latest subway map, and by entering your departure and arrival points, you’ll get detailed information on all routes.


Platform Direction and Exits
Signs are color-coded to match the line. For example, at Seoul Station, the Line 4 signs will be sky blue. They indicate the direction by listing the names of the next few stations and the last station on that track.
You must choose the platform heading in the direction of your destination. If your destination (e.g., Anguk) is two stops away, the sign will list it, but the ultimate directional marker will be the final station in that line’s sequence (e.g., Danggogae).
| Korean | English | Meaning |
|---|---|---|
| 출구 | Exit | Way out of the station to the street. |
| 승강장 | Platform | Where you wait for the train. |
| 환승 | Transfer | Direction to another subway line. |
| 타는 곳 | Boarding Spot | The location to get onto the train. |
Case Study: Seoul Station to Anguk Station
Let’s put this into practice with a classic journey: traveling from Seoul Station to Anguk Station. This trip requires a transfer, which is a common occurrence when traveling in Seoul.
Step 1: Board Line 4 at Seoul Station
At Seoul Station, you are likely coming from the main hall. Follow the sky-blue signs for Line 4. The signs will point you toward the platforms. Anguk Station is on Line 3. To get there, you must first take Line 4 one stop to Chungmuro Station.
The directional sign you want to follow is the one leading toward Danggogae (당고개). Board the train here.
Step 2: Transfer at Chungmuro Station
Ride for one stop, and exit the train at Chungmuro Station. Follow the signs marked 환승 (Transfer). The signs will direct you to the Orange Line 3 (3호선). You do not need to tap out of the fare gates; simply follow the dedicated transfer corridors.
You are now looking for the direction toward Daehwa (대화), which is the final station on the Line 3 route that passes through Anguk. Board the train here.
Step 3: Arrive and Exit at Anguk Station
Ride for three stops: Euljiro 3-ga, Jongno 3-ga, and finally, Anguk (안국). This station is a crucial Local Pick for visiting traditional sites like Bukchon Hanok Village and Insa-dong. Now you need to exit the station.
Exiting and Transferring: The Tap-Out Rule
Whether you are done with your journey or transferring to a bus, the process of leaving the subway station is crucial for an accurate fare calculation.
The Critical Step: Tapping Out
Just as you tapped in, you must tap out on the turnstile gates at your destination (e.g., Anguk Station). When you tap out, the T-Money card deducts the exact distance fare, which is the base fare plus any additional charge for exceeding the initial 10 km. The gate will beep, display your final fare, and your remaining balance.
Choosing Your Exit Based on Destination
Before you leave the fare gates, look at the comprehensive exit map near the turnstiles. Seoul subway stations have numbered exits (e.g., Exit 1, Exit 2). The map lists the major landmarks and streets accessible from each specific exit. This is a vital korea travel strategy, as choosing the wrong exit can mean a lengthy unnecessary walk. Anguk Station, for instance, has exits clearly marked for the Bukchon Hanok Village entrance.
Korean Culture portal KCulture.com
Join the mailing service and add to your favorites.

Founder of Kculture.com and MA in Political Science. He shares deep academic and local insights to provide an authentic perspective on Korean history and society.